

昨天才写完一篇,今天又来了,这次树莓派openwrt旁路由将有极大的变化,里面有很多意想不到的功能。
在上一篇2020 | 树莓派刷openwrt打造旁路由器中我用了32G的SD卡,感觉有些太浪费了,所以今天我找到了一张闲置2G的SD卡再次搭建了openwrt路由。实际上由于功能的增加大空间的SD卡应该更好一些(我们完全可以把它当成下载器、服务器)
最后我还是改选了32G的SD卡来进行搭建

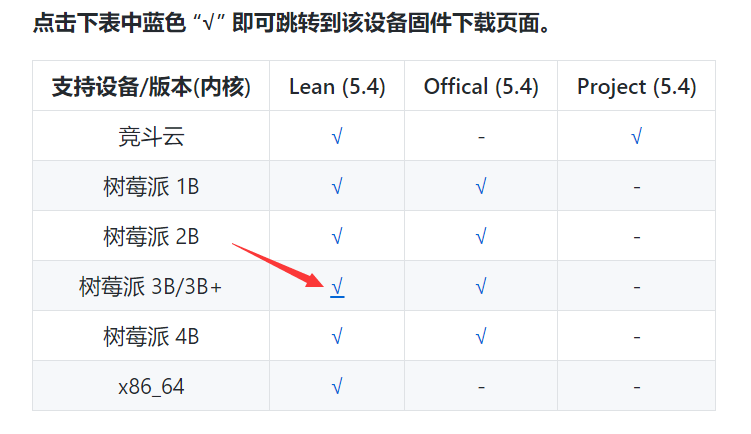
这次是我在GitHub上看到的一个大神写的固件
从这里https://github.com/SulingGG/Openwrt-rpi可以根据你树莓派的版本找到所需的固件。
进入后通过图中第三方下载链接进行下载
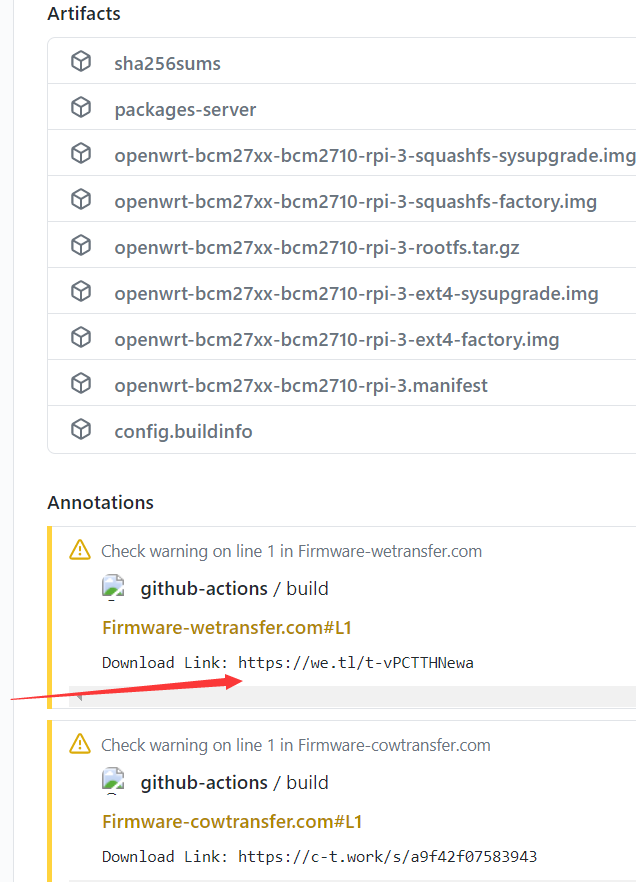
我选择了和另一个版本,都尝试了一下发现只有这个能用(也可能是因为我开机时间太短,还没等网络配置好就进去了)
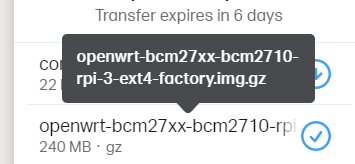
直接下载还是很慢,所以我还是通过阿里云租用的香港服务器下载的,然后再下载到本地。
接下来的具体过程和上一篇文章基本上就一样了。
一、写入系统
将下载好的压缩包解压,通过win32DiskImage写入.img文件。
二、将SD卡插入树莓派开机
先将SD卡插入树莓派。
给树莓派供电(这里可以不用连接网线)
等待片刻,电脑将能搜到opwrt的开放的wifi信号,连接该wifi
三、修改固定ip
在浏览器上输入192.168.1.1进入openwrt的后台
账号root
密码同样是password

修改ip、DNS、网关
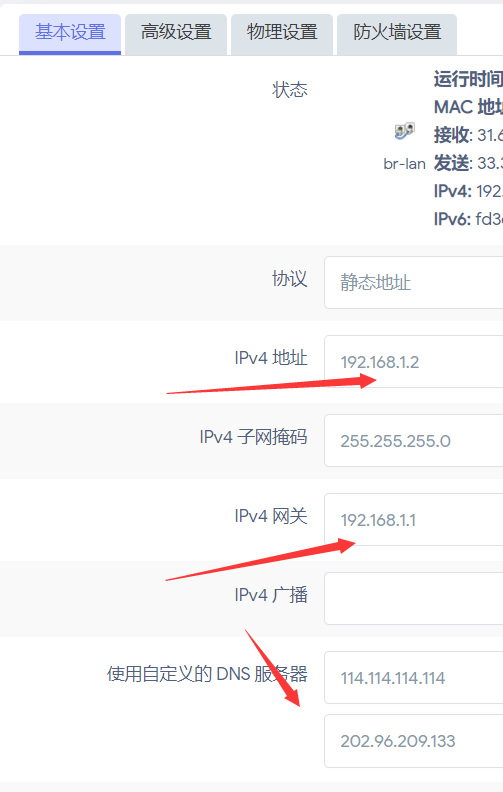
鼠标向下滚动,勾选强制

最后保存即可
四、修改wifi名称和密码

鼠标向下滚动看到essid即可修改

密码修改同前一篇文章一样

最后保存即可
五、保存&应用
鼠标滚动到整个页面的最上方,看右上角点进去未保存的应用

点击 保存&应用即可完成。(如果不点下次重启会使得修改的配置完全丢失)
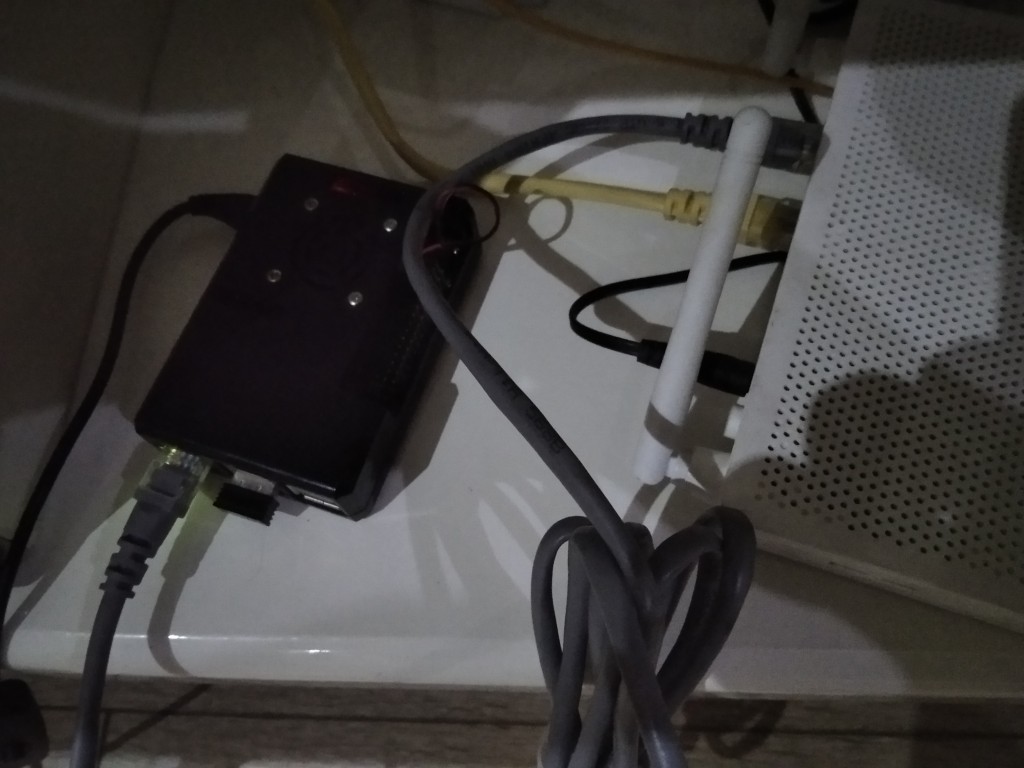
六、插上网线尽情冲浪
将树莓派通过网线与路由器相连接(随便选择一个LAN口即可)
一根电源线,一根网线。尽情享受5GHZ频段的速度。
最后拍张照片留个纪念。

Leave A Comment